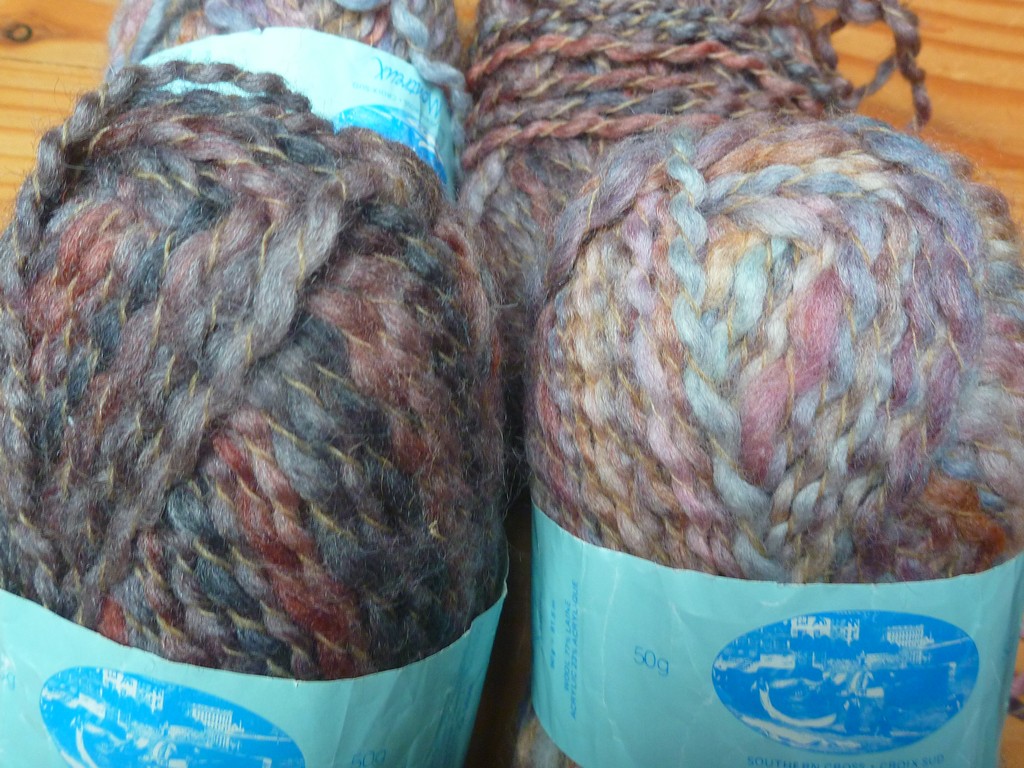
Reading the label, the yarn is called "Montreux", it's 77% wool and 23% acrylic and it's made by Southern Cross Yarns. The skeins are 50 g (81.5 m), recommended needle size is 5.50 mm with a gauge of 16 st = 10 cm. (5.50 mm = US 9. 10 cm ≈ 4 in.)

I played with a few pattern stitches, but soon decided to let the yarn be the focus. I tried a welt stitch in the darker yarn - to give it a bit of texture ...

I liked the 2-color, 1x1 rib on my first swatch and plan to use that for the "brim", so I started my gauge swatch with a 2-color, long tail cast on. (Hold both yarns together and create a slip knot. Put the slip knot on the needle. Hold the yarn in the usual long tail manner with one of the 2 colors as the "working yarn" and the other color as the "tail". Then cast on.) I worked about an inch of 1x1 rib and then, without changing the stitch count or needle size, I switched to stockinette stitch and garter stitch.

Yes, it is oh so tempting to skip the blocking and jump right in to knitting. However, I've experienced the agony of watching a finished project change size when it's blocked and I know that in comparison, blocking a gauge swatch is a minor inconvenience.
[Somehow, this seems to be one of those lessons each knitter must learn on his or her own. Every knitting book I've read emphasizes the importance of this process. And every knitter I know has skipped it.]
I like to measure before I block and then measure after I block. That way I know just how much blocking changes things (if at all) and I'll know whether or not to worry if my pre-blocking project measurements aren't matching up to what I want the final measurements to be.
Since most things I make will be washed, I pretty much always wet block my gauge swatch. (That goes back to an old, tried-and-true sewing lesson. Always "pre-shrink" your fabric in the same way it will be laundered. Yes, I've been known to go from the fabric store to the dry cleaners with my dry-clean-only fabric.)
So, I measured ...


blocked ...

and measured again ...


My results?
→ No pre-block to post-block measurement change
Gauge is:
→ 16 st = 3-inches for 1x1 ribbing (or 5 1/3 st = 1-inch)
→ 16 st = 4-inches for stockinette stitch (or 4 st = 1-inch)
→ 21 rows = 3-inches for stockinette stitch (of 7 rows = 1-inch)
Now I'm ready to move on to Part 2, Developing the Pattern.
No comments:
Post a Comment